Wise and Informed Choices with W.I.C.

By Alie Cantu, RDN, LD

In recent weeks we have all been affected by COVID-19 in more ways than one. Luckily, there are many resources that we can turn to for support during this difficult time. One of these resources is the Special Supplemental Nutrition Program for Women, Infants, and Children, more commonly known as WIC. WIC aims to provide nutritional support for pregnant, breast-feeding, and post-partum mothers and their children up to five years old.

Here are a few WIC shopping tips, healthy cooking ideas, and more.

Shopping Tips:

  • Before you go shopping, make sure to call your WIC Clinic if you need to schedule an appointment to load your benefits onto your WIC card. The San Antonio clinics remain open to make sure all participants and applicants are receiving their benefits and support.
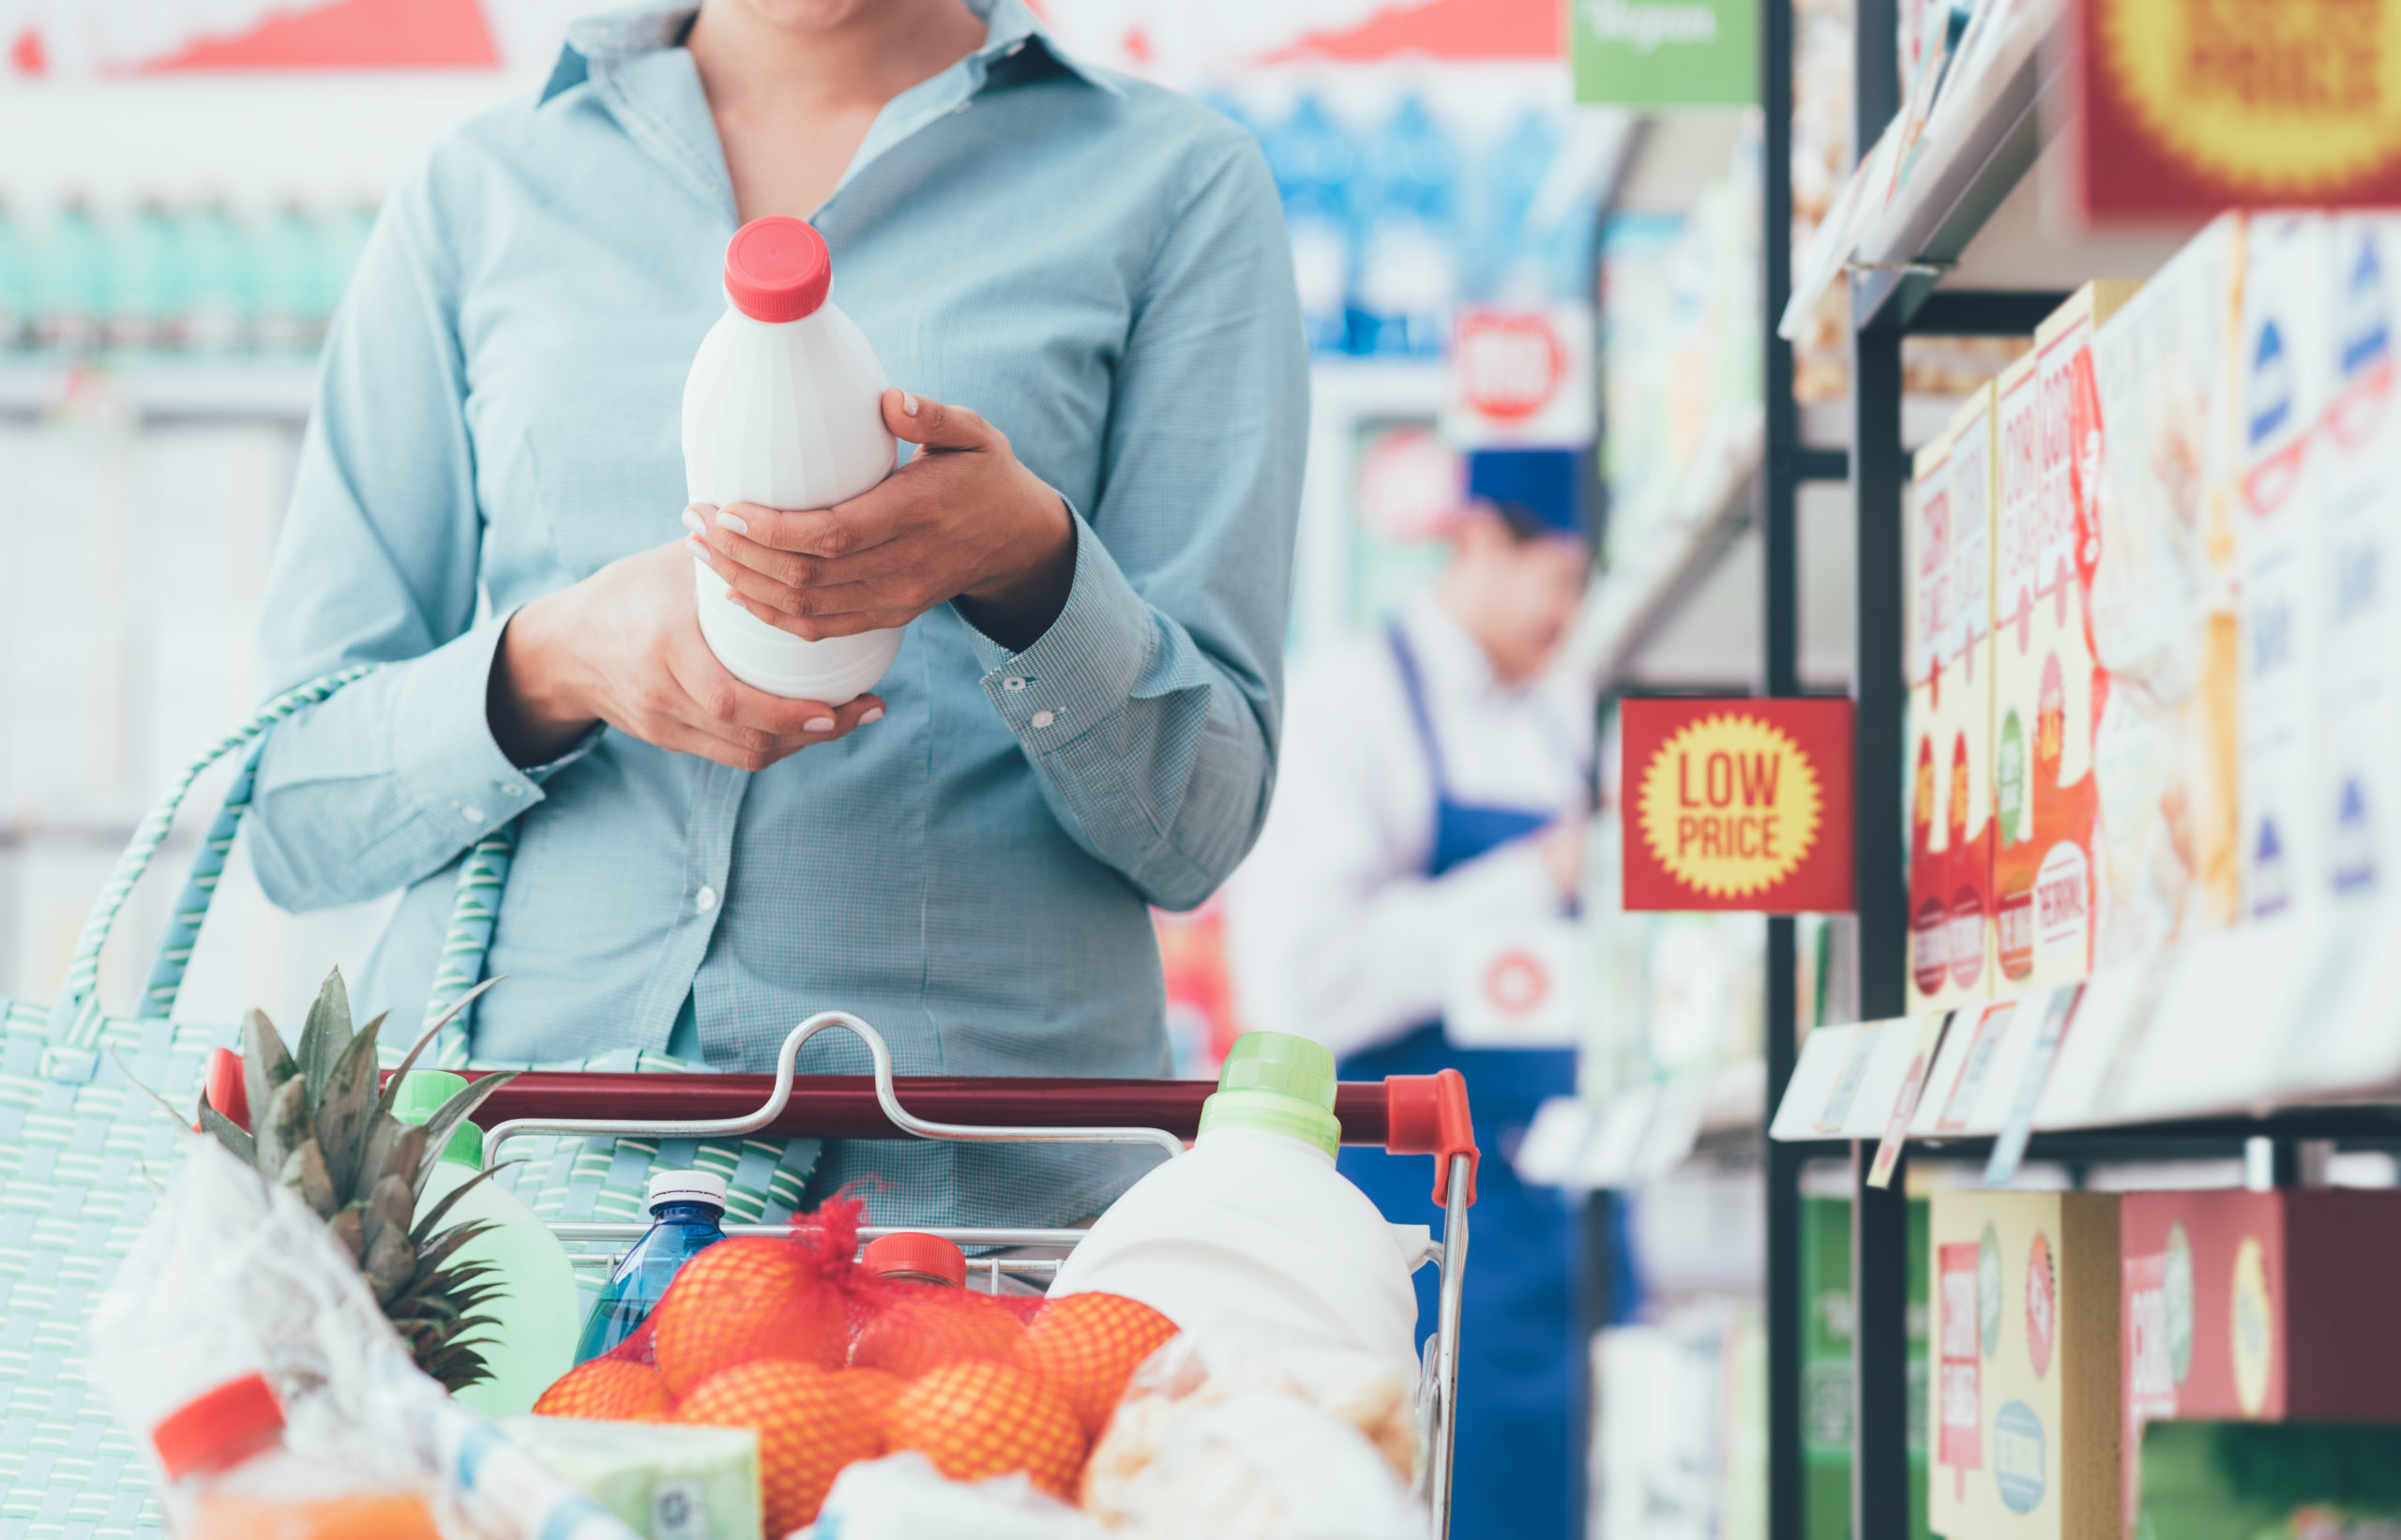
  • While you are shopping, make sure to use the myTexasWIC app to keep track of your monthly benefits, create a grocery list, and scan items to check if they are WIC approved. Although resources may be scarce in the aisle, the state WIC office has allowed for some temporary and permanent changes in approved items which the app can help you navigate through.  
  • If you are not a WIC participant, it may be wise to double check the tag on the shelf and select non-WIC approved items. By doing this, you can help WIC participants find the items that they need.   

Healthy Cooking:

  • During this stressful time, it’s important that we are taking care of ourselves and remaining fueled with delicious “quarantine cuisine” such as Egg Muffins, Three Bean Chili, or Apple Cheddar Quesadillas. These recipes can be made with WIC approved items and are tasty ways of staying healthy while at home. 

More Resources:

  • Be sure to check out TexasWIC.org for all your WIC-related questions, to start an application for WIC, or for more recipes to try at home. Stay updated with the  City of San Antonio Website for any changes in services offered throughout this time.

Meal Plan for 3 Meals, Featuring Oven Roasted Chicken and Toasted Quinoa Pilaf

This meal plan starts off with Oven Roasted Chicken and Toasted Quinoa Pilaf. We are cooking enough chicken and quinoa to have planned overs that will be used in other meals throughout the week so don’t be surprised if you have plenty left over. We will use these planned overs to create a Toasted Quinoa Chicken Bowl and Greek Chicken Salad with White Beans later in the week. These tasty meals are simple and nutritious! Feel free to swap ingredients out depending on your family’s taste preferences but remember that the ingredients on the grocery list are for the recipes as they are written. You’ll need to add extra items if you choose any variations or ingredient swaps. This meal plan can serve as 3 meals for a family of 4 or 6 meals for a family of 2. If you have a family of more than 4, you might want to double the recipes.  

Printable PDFs for this meal plan:

Oven Roasted Chicken

Toasted Quinoa Pilaf

Chipotle Roasted Chicken

Toasted Quinoa Chicken Bowl

Greek Chicken Salad with White Beans

Grocery List

Meal 1: Oven Roasted Chicken and Toasted Quinoa Pilaf with a vegetable or salad of your choice

For your first meal, use the recipes for Oven Roasted Chicken and Toasted Quinoa Pilaf. You can serve these with your choice of a vegetable or side salad. We recommend serving your meal with Asparagus with Lemon and Parmesan, Roasted Root Vegetables, Strawberry Spinach Salad, or Garden Salad.

Each serving of your meal should equal about 4 ounces of chicken, 1 cup vegetables or salad, and ½ cup quinoa. Since there will be leftovers, save the chicken and quinoa for your planned over meals.

Oven Roasted Chicken

Cook Time Start to Finish: 1½ – 2 hours

Yield: 12 servings|1 serving = about 4 ounces

Ingredients:

  • 2 Tablespoons olive oil
  • 2 Tablespoons white wine or white wine vinegar
  • 1 Tablespoon Dijon mustard
  • 2 Tablespoons rosemary, chopped
  • 1 Tablespoon garlic, chopped
  • Freshly ground black pepper, to taste
  • 1 – 4 pound whole chicken, giblets and excess fat removed

Directions:

  1. Place a shallow roasting pan with a rack in the oven and preheat oven to 375°F.
  2. In a small bowl, combine olive oil, wine or vinegar, mustard, rosemary, and garlic. Season with pepper.
  3. Gently loosen the skin from the breast and legs of the chicken, being careful not to tear the skin. Rub ¾ of the rosemary mixture underneath the skin of the chicken. Rub the remaining amount all over the skin.
  4. Place the chicken in the roasting pan and roast for 50 – 60 minutes, until the juice runs clear or until the chicken is 165°F at the thigh or approximately 160°F at the breast.
  5. Let rest in a warm place for 15 minutes prior to carving.

Culinary Notes and Tips:

  • Basting the chicken while it cooks will give the chicken an even color and keep the skin moist.
  • Never cover or tightly wrap a chicken while it’s roasting. If steam is trapped by a foil cover, it will cause the chicken to steam rather than roast.

Variations:

For a Latin variation of the recipe, try our Chipotle Roasted Chicken. Simply replace the white wine or vinegar, mustard, rosemary, and garlic mixture with:

  • 1 Tablespoon garlic, chopped
  • ½ teaspoon ground cumin
  • 1 teaspoon chipotle in adobo sauce, chopped
  • 1 teaspoon Mexican oregano
  • 2 Tablespoons lime juice

Toasted Quinoa Pilaf 

Cook Time Start to Finish: 30 minutes

Yield: 8 servings | 1 serving = ½ cup

Ingredients:

  • 2 Tablespoons olive oil
  • 2 cups quinoa, rinsed and drained well
  • 1 cup onion, diced
  • 1 Tablespoon garlic, chopped
  • 4 cups water or vegetable stock
  • Salt and pepper to taste

Directions:

  1. Heat a small saucepan over medium heat. Add olive oil and quinoa. Stir to toast the quinoa. It will start to pop like popcorn and have a slightly nutty aroma. Add onion and garlic and stir until aromatic.
  2. Add water or stock and bring to a boil. Season with salt and pepper. Reduce heat to low, cover tightly, and cook for 28 minutes.
  3. Remove from heat, let sit for 4 minutes, and fluff with a fork.

Culinary Notes and Tips:

  • This dish is gluten free and a great source of plant-based protein.
  • Quinoa has a natural coating on the outside called saposin. It’s bitter to the taste, so it’s important to rinse quinoa in water, then let it drain for a few minutes before cooking. Make sure to drain it the best you can. If the grain is wet, it will be more difficult to toast.
  • Quinoa can also be toasted by spreading it on a sheet pan and placing in a 350°F oven for 5–10 minutes, stirring periodically.
  • It’s important to let the grain sit for a few minutes once it’s removed from the heat. This allows the grain to settle and slightly firm up. If you stir it immediately after it has finished cooking, it will mush up and become gummy.

Variations:

  • If you’d like to add some extra flavor to the quinoa, add 2 cups of mushrooms sautéed with garlic.
  • Another tasty option is to add ¼ cup sun-dried tomatoes and 1 Tablespoon basil.

Meal 2: Toasted Quinoa Chicken Bowl

Our Toasted Quinoa Chicken Bowl is easily customizable depending on your family’s taste preferences or what you already have in your kitchen. If you don’t have fresh herbs on hand or can’t find any at the store, you can use dried herbs. Just remember to use less if using dried instead of fresh. You can also swap out the almonds for any other type of nut you have in the pantry.

This meal makes for a quick dinner option when you need to throw something together on a busy weeknight. Or, make this dish the night before and pack it for an easy work lunch. Keep in mind that this recipe calls for more vinaigrette than you will use in your bowl. Make sure to save the left over dressing for your third meal.

Toasted Quinoa Chicken Bowl

Cook Time Start to Finish: 20 minutes

Yield: 4 servings | 1 serving = 1½ cup

Ingredients:

  • 2 cups cucumbers, peeled, seeded, and diced
  • 1 cup radishes, cut in quarters and thinly sliced
  • Salt and freshly ground black pepper, to taste
  • ½ cup lemon juice
  • ½ cup extra virgin olive oil
  • 2 cups cooked quinoa (use leftover Toasted Quinoa Pilaf)
  • 2 cups cooked chicken, shredded (use leftover Oven Roasted Chicken)
  • 2 scallions, chopped
  • 2 Tablespoons dill, chopped
  • 1 Tablespoon mint, chopped
  • 2 Tablespoons toasted almonds, chopped

Directions:

  1. In a large bowl, combine cucumbers and radishes. Lightly season with salt and pepper. Let sit for 5 minutes.
  2. In a small bowl or mason jar, combine lemon juice and olive oil. Season with salt and pepper, then whisk well.
  3. Add quinoa, chicken, scallions, dill, and mint to the large bowl. Gently mix.
  4. Add the ½ cup of vinaigrette to the large bowl and gently mix. Fold in nuts and adjust seasoning with salt and pepper.

Culinary Notes and Tips:

  • You will use some of your leftovers from the Oven Roasted Chicken and Toasted Quinoa Pilaf to make this dish.
  • When preparing meals with grains, remember that grains and starchy ingredients will absorb seasoning and need to be re-seasoned just before serving.
  • The tartness and bitterness of lemons may vary throughout the year. During the winter, the vinaigrette may need a pinch of sugar and more salt to counteract the bitterness of the juice.

Variations:

  • This meal can easily be made vegan if you leave out the chicken. Add some chickpeas instead of chicken and top with heart healthy avocado.
  • If you can’t find radishes at the store, use celery instead. It will provide the same crunch to the recipe.
  • You can replace lemon juice with lime juice.
  • Some other tasty swaps include, replacing dill and mint with basil, adding water-packed canned tuna instead of chicken, or adding ½ cup of cooked corn and replacing the dill with chopped parsley.

Meal 3: Greek Chicken Salad with White Beans

For your last meal, we will use the remaining planned overs and mix them with some other tasty ingredients to create a Greek Chicken Salad with White Beans. We know some people find salads boring but don’t fear! This salad is packed with flavor and nutrients to will keep your family satisfied until your next meal. 

Greek Chicken Salad with White Beans

Cook Time Start to Finish: 20 minutes

Yield: 4 servings | 1 serving = 2 cups

Ingredients:

  • ¼ cup sun-dried tomatoes,diced or chopped
  • Boiling water, as needed
  • 8 cups mixed salad greens, torn
  • 2 cups cooked skinless chicken breast, sliced (use leftover Oven Roasted Chicken)
  • 1 cup canned cannellini beans, rinsed and drained
  • ¼ cup feta cheese, crumbled
  • ¼ cup toasted almonds, slivered
  • ½ cup dressing (use leftover vinaigrette)
  • Salt and freshly ground black pepper, to taste

Directions:

  1. Place sun-dried tomatoes in a small bowl. Add enough boiling water to cover and let stand for 5 minutes. Drain well.
  2. In a large bowl, combine salad greens, chicken, cannellini beans, feta cheese, and almonds. Gently mix to combine.
  3. Add drained tomatoes and vinaigrette. Season with salt and pepper and toss to combine.  

Culinary Notes and Tips:

  • You will use some of your leftovers from the Oven Roasted Chicken and vinaigrette to make this dish.
  • Save the water from rehydrating the tomatoes and use it in tomato soups or sauces.

Variations:

  • Replace the chicken with marinated pork.
  • Use a red wine vinaigrette instead of the leftover lemon vinaigrette.
  • Toss the chicken and cannellini beans with 1 teaspoon Spanish paprika, salt, and pepper for extra flavor.

For even more tips on meal prepping, check out our blog on how to get started. If you have a culinary or nutrition question, use our Ask a Dietitian tool for expert advice delivered straight to your inbox.
Culinary Skills for All Ages

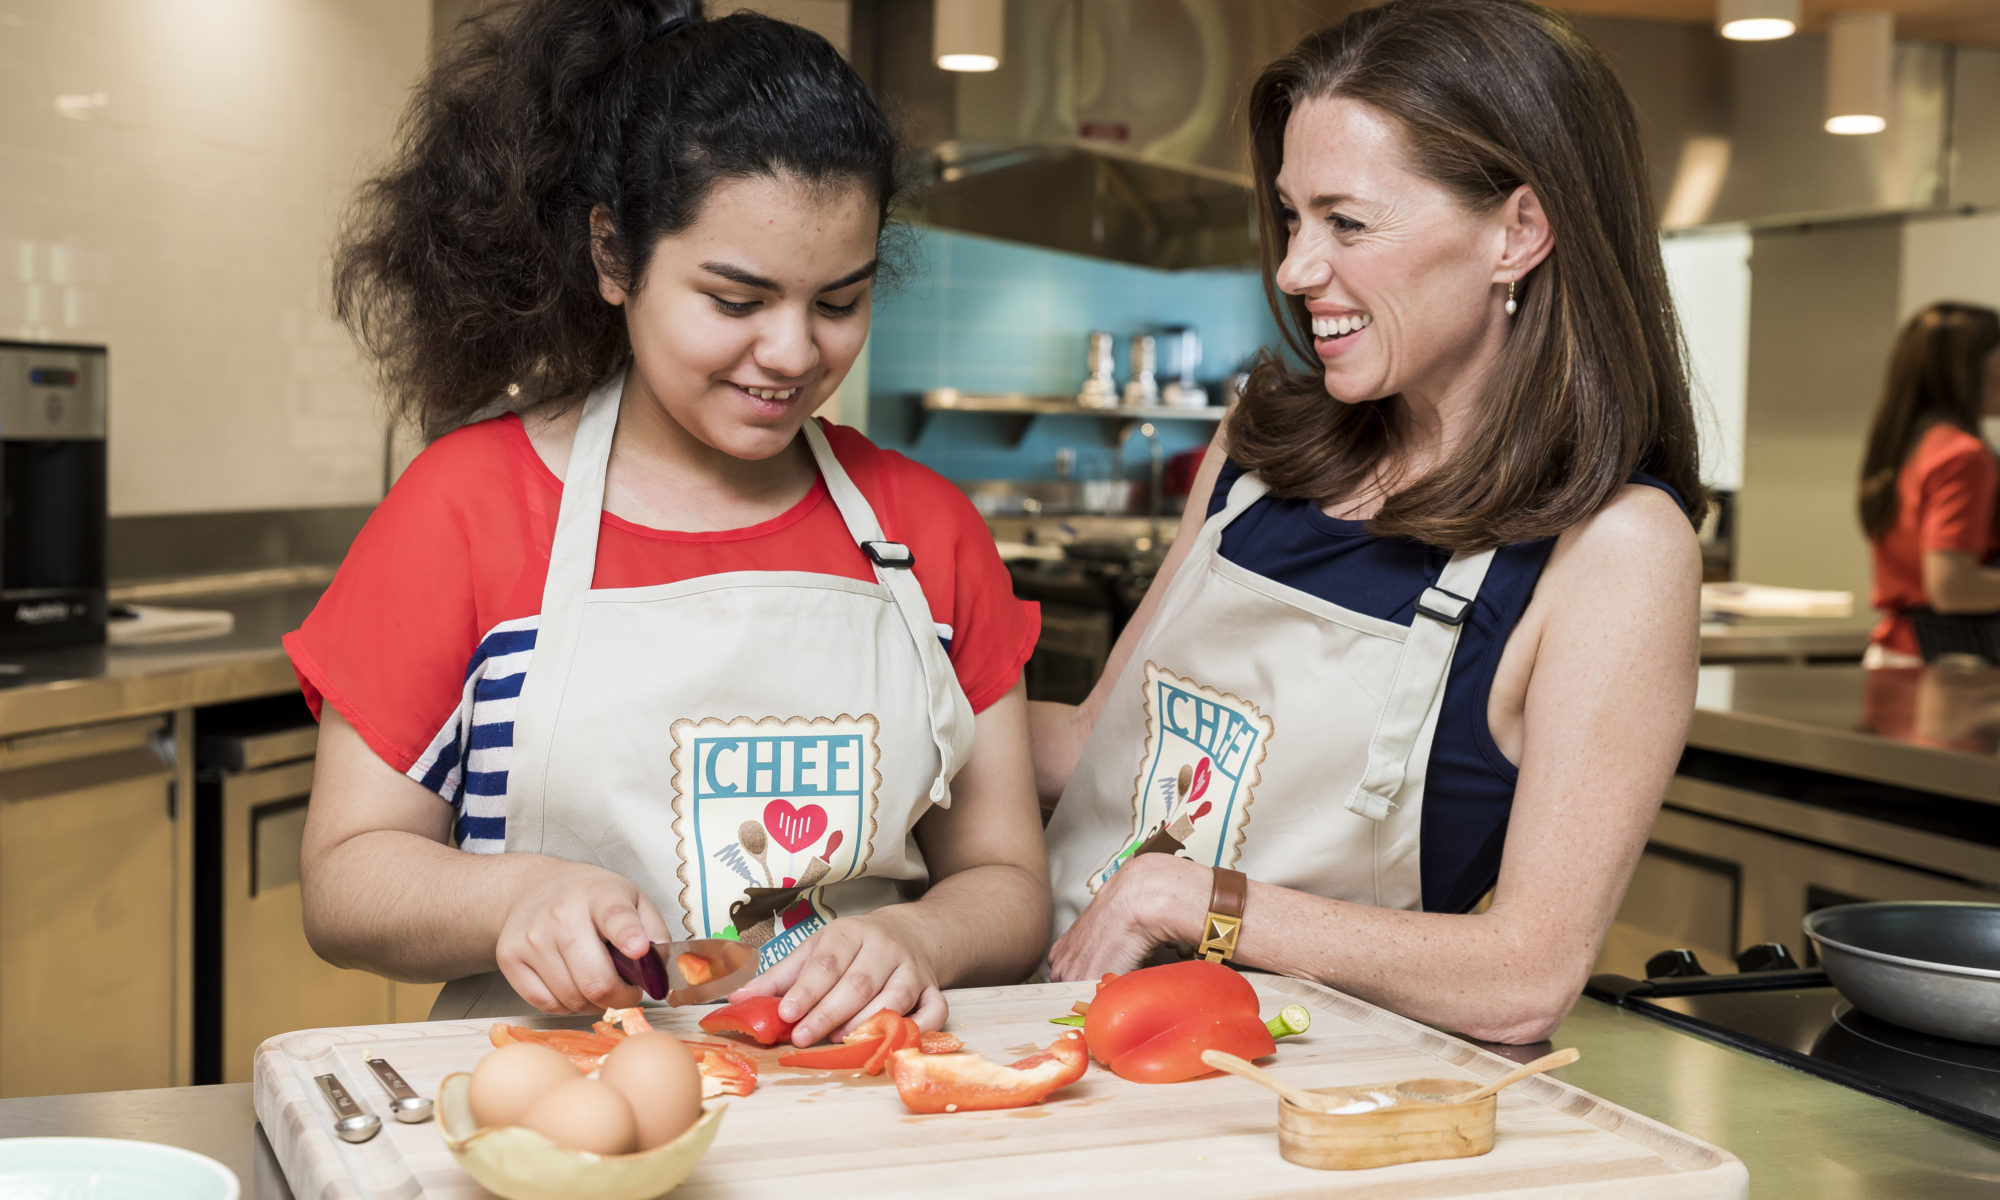
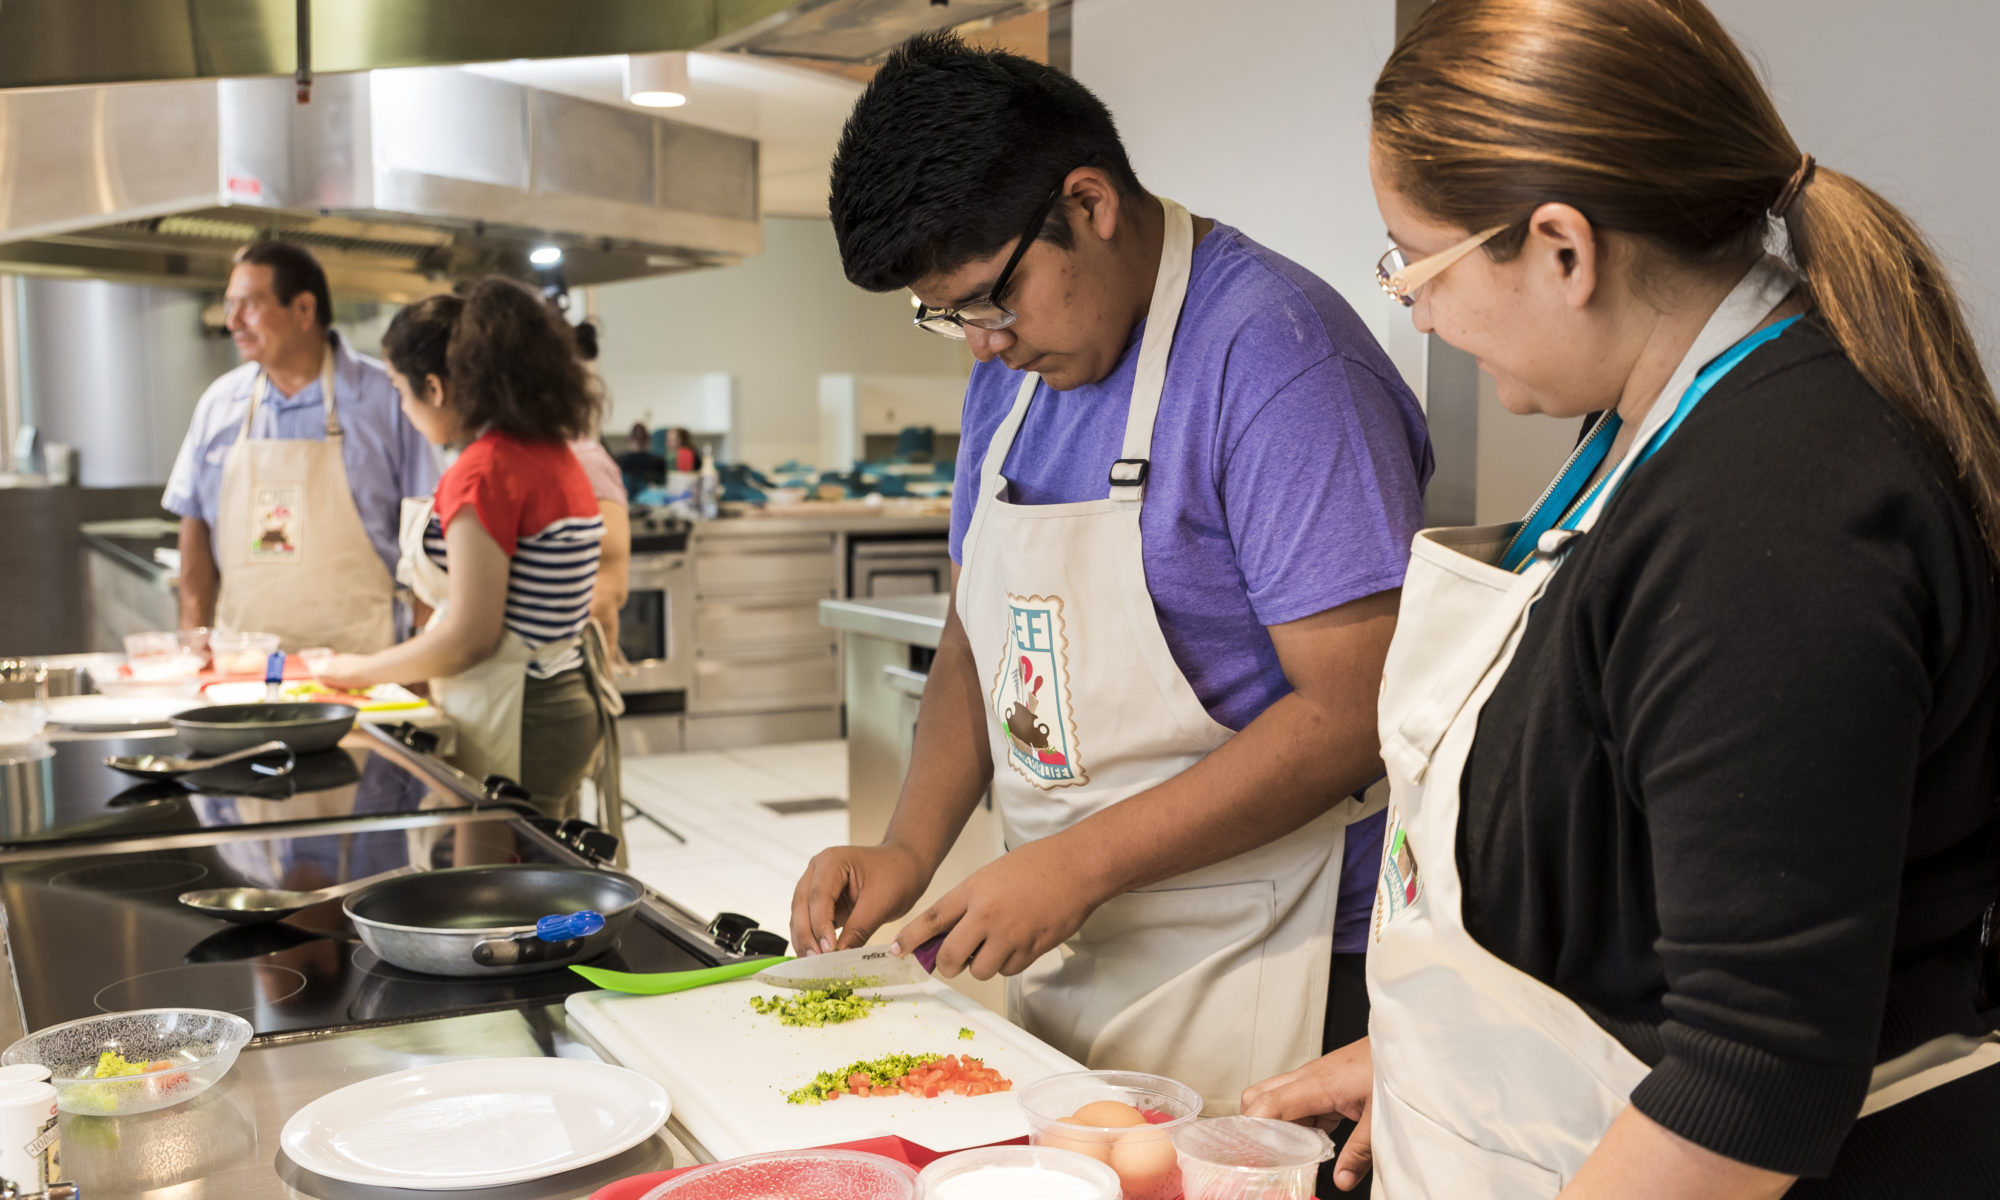
Cooking is a fun activity for the entire family and a great way to build creativity! Including your children in the meal preparation process can expand their taste preferences and help them explore new foods. Even the youngest members of the family can join in! If you’re wondering how to include your family next time you’re in the kitchen, here’s our tips on which culinary skills are appropriate to practice for each age group and some ways you can help grow your child’s confidence in the kitchen.

Children ages 3-5 years:

  • Highlight the importance of food safety by properly washing hands before, during, and after touching raw and ready-to-eat ingredients.
  • Practice using a spatula to clean out ingredients in bowl.
  • Show them how to wash vegetables and fruits – this is also a great way for them to discover the names of different produce and spark an interest in tasting new foods.
  • Let them use a fork to mash potatoes and demonstrate how a potato masher tool can be used.
  • Teach them how to stir and mix ingredients using a spoon or clean hands.
  • Practice pouring or spooning ingredients into scales, measuring cups, or measuring spoons.
  • Let them cut soft ingredients such as butter, mushrooms, strawberries using a kid-friendly knife.
  • Teach them how to bread and flour different foods by setting up three stations with flour, beaten eggs, and breadcrumbs.  
  • Show them how to tear ingredients such as herbs and lettuce.
  • Demonstrate how to use a sieve for measuring flour.
  • Explain how to use a pestle and mortar.
  • Practice light kneading, rolling, shaping, and cutting dough.

Children ages 5-7 years:

  • Highlight the importance of food safety by properly washing hands before, during, and after touching raw and ready-to-eat ingredients.
  • Teach them age appropriate knife skills and the “claw” technique to keep fingers and hands safe.
  • Allow them to use scissors to cut herbs and other delicate ingredients.
  • Show them how to safely use a grater or a micro-plane.
  • Practice measuring wet and dry ingredients using scales, measuring cups, and measuring spoons.
  • Explain the process of cracking, beating, and folding eggs.
  • Try greasing and lining a cake tin or tray.
  • Demonstrate how to peel citrus and hard-boiled eggs.
  • Practice pressing garlic through a sieve.
  • Teach them how to help set the table.
  • Show them how to clean their kitchen work area.

Children ages 8-11 years:  

  • Help them understand the basic principles of reading and following an age appropriate recipe.
  • Highlight the importance of food safety by properly washing hands before, during, and after touching raw and ready-to-eat ingredients.
  • Teach them age appropriate knife skills and the “claw” technique to keep fingers and hands safe.
  • Practice using a spatula to remove ingredients from a bowl.
  • Let them observe and help them understand the safe and proper use of a food processor and blender.
  • Allow them to use scissors to cut herbs and other delicate ingredients.
  • Show them how to safely use a grater or a micro-plane.
  • Demonstrate how to peel citrus and hard-boiled eggs.
  • Practice measuring wet and dry ingredients using scales, measuring cups, and measuring spoons.
  • Explain the process of cracking, beating, and folding eggs.
  • Show them how to safely use a can opener.
  • Try greasing and lining a cake tin or tray.
  • Demonstrate the safe use of an oven and stove top for baking, roasting, toasting, and sautéing.
  • Practice using an oven timer.
  • Teach them how to help set the table.
  • Show them how to clean their kitchen work area.

Children ages 12 years and older:

  • Highlight the importance of food safety by properly washing hands before, during, and after touching raw and ready-to-eat ingredients.
  • Show them how to safely use a grater or a micro-plane.
  • Allow them to organize ingredients and the cooking process according to the recipe.
  • Teach them age appropriate knife skills and the “claw” technique to keep fingers and hands safe.
  • Let them read and follow a recipe to create a final dish.
  • Practice kitchen math for counting, dividing portions, and doubling recipes.
  • Teach them different ingredients and their origin.
  • Review the different types of kitchen equipment and explain their proper use. Here’s a list of basic equipment to get you started.
  • Show them how to safely use a can opener.
  • Practice using an oven timer.
  • Demonstrate the safe use of an oven and stove top for baking, roasting, toasting, and sautéing.
  • Review the basic science of cooking and how common ingredients change during cooking.
  • Practice hand skills and coordination of carrying, transferring, and pouring of ingredients.
  • Teach them how to help set the table.
  • Show them how to clean their kitchen work area.

Additional resources:

  • If you’d like to brush up on common culinary skills, check out our skills videos.  
  • To take the confusion out of cooking, review our kitchen vocabulary terms with your child.
  • Now that you know what skills are age appropriate for your child, try recreating one of our recipes at home with entire family using our recipe videos.  

Simple Ingredient Swaps

If you can’t find what you’re looking for at the grocery store or don’t have an ingredient on hand at home, don’t fear! Check out our list of simple ingredient swaps.

  • Don’t have canned beans? Use dried instead! Remember to wait to add salt to the beans until they are almost done cooking.
  • Swap out fresh fruit for frozen or canned fruit. When purchasing canned, just look for “no sugar added” on the label or canned in juice, instead of syrup.
  • Out of fresh vegetables? Canned or frozen can be just as nutritious! When shopping canned, choose the low-sodium or no salt added option. You can also rinse canned vegetables to remove excess sodium.
  • Can’t find bread or pizza crusts at your local grocery store? Put your baking skills to the test and make your own pizza dough at home.
  • Getting bored of plain water? Try making your own infused water. You can even add club soda to make your infused water sparkling!
  • No fresh herbs on hand? Simply swap them out with dried herbs. Just remember, you don’t need as much when the dried version.
  • Down to the last drop of vinegar? Swap it out for fresh lemon juice, which mimics vinegar’s acidity.
  • Substitute Greek yogurt for sour cream! The thick, tangy consistency makes a great replacement.
  • Running low on rice? Experiment with a different grain instead! Some good options are quinoa, barley, farro, couscous, and bulgur.

For more ideas, ask our experts using our Ask a Dietitian tool.

10 Tips for Keeping Your Family Healthy During Self-Isolation

  1. Involve your children in cooking. Get the whole family in the kitchen to make fun, simple meals. Children are more willing to try new foods if they have had a hand in creating it. Check out our website and social media (@CHEFSanAntonio) for healthy, family friendly recipe inspiration.
  2. Enjoy your favorite fruits and vegetables. Many farmers markets and produce wholesalers are offering curbside pickup for fresh, local fruits and vegetables. If you’re headed to the grocery store, add fresh, frozen, and canned fruits and vegetables to your list. Make sure to check for labels with “no sugar/salt added”.
  3. Reward your children with fun activities. Use fun activities to reward your children for completing online homework or household chores instead of candy.
  4. Make a daily infused water to keep in the fridge. You can add any combination of herbs and fruit or vegetables to flavor your water. Add club soda for some bubbles! Our Cucumber Mint Infusion is a great place to start.
  5. Wash your hands and produce. While this is something you should always be doing, it’s especially important now. Remind your family to wash their hands for 20 seconds and wash your fresh fruits and vegetables before you eat them. We know 20 seconds feels like a long time, so turn this into a fun activity by singing the chorus of a popular song while you wash! Here’s some suggestions.
  6. Avoid drinking alcohol in excess. While there are benefits to drinking a glass of red wine, too much alcohol can be harmful to your health. Enjoy in moderation!
  7. Get adequate sleep. Getting a good night’s sleep is important for everyone, not just growing children. Inadequate sleep is linked with certain diseases including Type II Diabetes and Obesity.
  8. Practice mindfulness daily. Take some time each day to have a quiet moment and think of all of the things you are thankful for, such as time with your family.
  9. Eat meals at the table with your family. Turn off the TV and have a conversation while you eat. This is a great way to eat more mindfully and connect with your family.
  10. Go easy on yourself. Self-isolation is tough on everyone – don’t worry if every meal you serve your family isn’t the most Instagram-worthy or even the most nutritious. Allow yourself to acknowledge that you are doing the best you can.

Understanding the Glycemic Index and the Benefit of Low Glycemic Foods

By Connie Guttersen, RD, PhD

What is the glycemic index (GI)? The glycemic index ranks foods according to their effect on your blood-sugar levels. Foods that are high on the GI (more than 70) — such as white bread or white potatoes — break down quickly in the bloodstream, rapidly raising blood-sugar levels. With high glycemic meals, you find that soon after you’re done eating, you’re hungry again — and tired!

On the other hand, foods farther down the GI (lower than 55) are metabolized more slowly, keeping your hunger satisfied and your appetite on a more even keel. In other words, low glycemic foods are better at providing a slow energy release throughout the day. There are experts who believe that by avoiding blood-sugar surges, you can help prevent many dangerous health conditions.

The goal is to eat foods that gradually raise blood sugar (glucose) into your bloodstream, thereby keeping your energy levels up and your hunger under control. More importantly, choosing low glycemic foods helps your body lose those extra pounds around your waist and decreases your risk factors for inflammation, diabetes, and heart disease.

What are the benefits of low glycemic meals?

  • Help with weight loss, especially around the waist
  • Reduce the risk of diabetes
  • Reduce the risk for heart disease
  • Improve blood cholesterol levels
  • Decrease inflammation inside the body
  • Reduce hunger and keep you satisfied longer
  • Maintain energy levels and promote physical endurance

Why is knowing more about glycemic index important?

Becoming familiar with the glycemic response of foods will help you make smarter choices. The goal is not to eliminate carbohydrates and breads from your daily diet. Your goal should be to include more nutrient-rich choices, such as whole grains and colorful fruits and vegetables. Adding these types of foods into your diet will promote health and are linked with higher energy levels, better sleep patterns, and happier moods.

Food is Fuel, Especially for Athletes

By Lauren Weaver, Texas A&M Dietetic Intern

Edited by Andi Champion, Marketing Manager, CHEF

The common phrase “food is fuel” takes on a special meaning for athletes. They need the proper combination of nutrients not only to complete the daily tasks of life but also to perform well in their sport. Help your athlete on and off the field by giving them the right foods to be their best. Athletes who want to win the race can use proper nutrition to start strong and finish fast!

 What does fueling an athlete properly look like?

Macronutrients

Despite what we may hear on the internet, there’s no magic food or supplement that helps an athlete perform their best. The most important thing for athletes is eating the right combination of macronutrients. A macronutrient (macro for short) is a nutrient that the body needs in large amounts. They also happen to provide calories. The 3 types of macros and their functions are:

  • Carbohydrates: provide the body with energy
  • Proteins: build and repair muscle
  • Fats: help the body make hormones

Pre-Workout/Competition

To support good performance, a carbohydrate rich snack with some protein is best, ideally 1-4 hours pre-exercise. Consuming some fat is okay but too much can make you feel sluggish, so it’s best to keep fat to a minimum.  Here are some great pre-workout ideas:

  • Yogurt and fruit
  • Whole wheat toast with 1 Tablespoon of peanut butter and a banana
  • Oatmeal made with dried fruit and milk
  • Almond butter on an apple

During the Workout

Drinking water is the most important thing to do during exercise. When you sweat, your body is losing water so make sure you continue to hydrate during your workout. If your athlete works out or performs for more than an hour, you can give them simple carbohydrates, such as fruit or a low-fat granola bar, every 30 minutes to keep their energy up.

Post-Workout

After working out, the body needs carbohydrates to replenish the energy that was used, and protein to repair the muscles. Depending on the timing of your meals, your athlete can have either a meal or snack. Try one of these tasty combinations:

  • A fruit smoothie with Greek yogurt
  • Chocolate milk
  • Salmon, sweet potato, and green beans
  • A whole grain muffin with peanut butter and a glass of milk
  • A rice bowl with chicken, black beans, and sautéed vegetables

Remember to continue to hydrate post workout as the body loses a lot of water during exercise.

Hydrate, Hydrate, Hydrate!

This can’t be emphasized enough. Making sure you’re hydrated before, during, and after exercise is so important! In most cases, water is the best drink to hydrate with. If your athlete works out for more than an hour and sweats a lot, one bottle of Gatorade or other sports drink might be helpful. Then back to water.

For every pound (16 ounces) of sweat lost, the body needs 24 ounces of water to be fully rehydrated. If you lost multiple pounds that can be a lot to drink at one time, so it’s best to stay on top of hydration throughout the day.

For more information on sports nutrition, sign up for our new CHEF for the Student Athlete Classes at The Children’s Hospital of San Antonio. These classes are specifically designed for young athletes and performance artists ages 12 to 18 years old. In these hands-on, engaging classes, students will learn how to take their athletic performance to the next level by fueling their body with all the right nutrients. Classes are open to athletes or teams participating in any sport or in the performance arts and their parents. Click here for more information and to sign up.

Eat Right, Bite by Bite: National Nutrition Month® 2020

By Lauren Weaver, Texas A&M Intern

Is It Really All or Nothing?

The road to good health can seem so intimidating! We’re constantly surrounded with extreme nutrition advice. Especially around the beginning of the year when everyone’s resolution seems to revolve around weight loss. Go on a juice cleanse, workout for two hours a day, go vegan, try eating only meat, and the list goes on. It’s no wonder people feel defeated before they’ve even began.

Let’s set a couple of things straight. First, better health doesn’t always mean weight loss. Second, no – health isn’t an all or nothing approach!

Eat Right, Bite by Bite

March is National Nutrition Month®, and this year’s theme is “Eat Right, Bite by Bite.” The hope behind this message is that people see that every bite counts. Every step you make to improve your health is a step in the right direction. Every step makes a difference.

Try a Bite

Try making realistic, attainable goals for yourself. If being active every day isn’t something you can do right now, start with two days a week. If making half of your plate fruits and vegetables seems impossible, start by including a fruit or vegetable in every meal. What matters is that you start.

Check out these ideas and take a bite for your health!

  • Try eating a new fruit or vegetable.
  • Cook a meal together as a family.
  • Get active in a fun new way – dance, yoga, frisbee golf – the possibilities are endless!
  • Start exercising two days a week.
  • Include a fruit or vegetable in snacks and meals.
  • Pack a homemade lunch instead of going out to eat.

Taking a first step can lead to other steps. Remember, we all start somewhere! Just take a step, take a bite, and eat right, bite by bite.

Meal Prepping 101

By Lauren Weaver, Texas A&M Intern

Edited by Andi Champion, CHEF

Trying to keep on track with your health goals while juggling your family’s schedule can seem like an impossible task. By the time everyone is home for the day, cooking a full meal is the last thing anyone wants to do.  For many of us, home-cooked meals fall by the wayside, often replaced with eating out which is expensive and not nearly as nutritious. The good news is, there’s a solution that can save you so much time and money –meal prepping!

What is Meal Prepping?

Basically, meal prepping is just preparing your meals ahead of time. It’s efficient because everything is being done at once, so it can be a huge time-saver.

You can prep as few or as many meals and ingredients as your family needs. If you just want to prep breakfast and lunch to save time in the mornings, you can do that. Or if you don’t want to have to come home and cook, you can just make dinners. You can even prep part of a meal such as pre-chopping the vegetables or pre-cooking grains or protein so that there’s less to do when you get home.

Step-by-Step

  1. Pick your recipes the weekend before you need them.
  2. Make your grocery list. Try not to overbuy – if two recipes call for half an onion, try to note that and just buy one.
  3. Head to the store. This is where you can save a lot of your time because you get all your grocery shopping done at once.
  4. Get prepping! Casseroles, muffins, one-pot dishes, quiches, breakfast burritos, soups, and sandwich fillings are just some of the many dishes that make well ahead of time and can even be frozen.  Don’t forget to take advantage of different preparation methods in the kitchen. That way you can have soup on the stove, while vegetables are roasting in the oven, while you mix up muffin dough on the counter.

One last tip: Meal prepping is a great way to get the entire family engaged in the kitchen. With so many foods being prepared, there’s a job for everyone and it helps you get it all done even faster!

The Scoop on the New Food Label

By Becca Bresemann, Texas A&M Dietetic Intern

Reviewed by Katy Bowen, MS, RDN, LD, Director of Community Outreach

Have you noticed some food labels look a little different recently? That’s because they are! The FDA has rolled out new requirements for what companies must include in their food labels. All companies were required to change their labels by January 1, 2020 (Or January 1, 2021 for smaller companies). Here’s what you need to know about the new changes:

Added Sugars

The new food label will begin showing added sugar in addition to total sugar. What does this mean? Many foods contain sugar naturally, like fruit and milk. However, many companies add extra sugar to their products, making them even higher in calories without any added nutrients. Eating a lot of added sugar is known to increase a person’s risk of developing certain chronic diseases, such as type 2 diabetes. For this reason, it’s recommended that a person get no more than 10 percent of their calories from added sugars (this equals about 50 grams of sugar per day). Including this information on the nutrition label can help people pay attention to how much extra sugar they eat each day. Research has shown that this addition could reduce the number of people who develop diabetes in the future. 

Vitamin D and Potassium

With the new food label, companies will be required to include how much vitamin D and potassium a food contains. These nutrients are important for keeping your bones healthy and your blood pressure normal. Many people don’t get enough vitamin D in their diet, so adding it on the nutrition label could help with awareness of how much they consume each day.

Serving Size

From now on, the serving size will be based on how much of a particular food people actually eat, not the recommended serving size. For example, a serving of ice cream will now be 2/3 cup instead of ½ cup. This will make it easier for someone to accurately estimate how many calories or other nutrients they are getting from their food.

These are just a few of the changes that will be made to the food label. You can find all the details at https://www.fda.gov/media/99331/download.

References:

https://www.mayoclinic.org/healthy-lifestyle/nutrition-and-healthy-eating/in-depth/added-sugar/art-20045328
https://www.fda.gov/food/guidanceregulation/guidancedocumentsregulatoryinformation/labelingnutrition/ucm385663.htm
https://www.fda.gov/downloads/food/labelingnutrition/ucm511646.pdf
http://main.diabetes.org/dorg/PDFs/Advocacy/insider/diabetes-advocacy-insider-20190430.pdf?utm_source=diabetes-insider-enews-050119&utm_medium=email&utm_content=read-on&utm_campaign=ADV&s_src=email&s_subsrc=646408
https://my.clevelandclinic.org/health/articles/15050-vitamin-d–vitamin-d-deficiency

September is National Childhood Obesity Awareness Month!

By Jacqueline Weiss, Cornell University, Nutrition Sciences Intern 
Reviewed by Katy Bowen, MS, RDN, LD, Director of Community Outreach, CHEF
Edited by Andi Champion, Program Coordinator, CHEF

September is National Childhood Obesity Awareness month. Obesity is a preventable and treatable health condition that increases the risk for other health problems such as type 2 diabetes, heart disease, and high blood pressure. As a parent, it is important to help your child learn healthy lifestyle habits that can help reduce their risk of childhood obesity.

We encourage you to dedicate this month to making small changes to improve the well-being of you and your family. Introduce new foods into your family’s diets, use herbs instead of sodium to boost the flavor in your meals, makeover your pantry so that you always have healthy staples on hand, enjoy a weekend at the farmer’s market where you can learn about eating seasonally, or add extra veggies to foods your family already loves.

Another small change that will make a positive impact on your health is increasing physical activity. It’s recommended that children and adolescents engage in at least 60 minutes of exercise per day. Try adding a family walk, a bike ride, or going to the park to your evening routine. Making your health a priority is the first step in helping your children form healthy habits for life.

To learn more about fighting obesity through nutrition and hands-on cooking, sign up for a CHEF class!

CHEF at Carroll Bell Elementary

by Andi Champion, Program Coordinator, CHEF

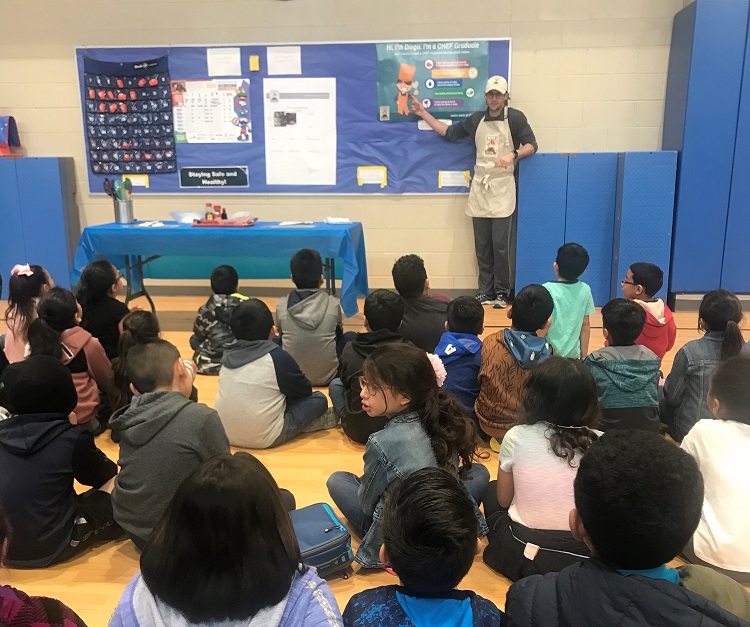
Scott Albach, PE Coach at Carroll Bell Elementary School in Harlandale ISD, first learned about CHEF when he attended our 2018 Conference for Educators, Driving Healthy Eating in San Antonio Schools. He had always been interested in health education and wanted to help his students make healthier choices, but wasn’t sure how to introduce nutrition messaging to his students. During the program, he sat next to Terri Pitts, a PE coach at Colonial Hills Elementary. After hearing Terri excitedly talk about bringing CHEF programming to her own elementary school and bouncing around ideas of how she would make it a success, Scott felt motivated and confident that he could do the same for his own students. Throughout the day he learned more about our simple approach to culinary medicine and left the conference with one goal in mind…to bring CHEF to his own school.

Fast forward seven months, and Scott’s students are on track to finish all eight CHEF Bites lessons, becoming one of the first CHEF-Approved schools in San Antonio. “I just think this is the best program. There’s something about the approach that breaks the barrier down. It forces students to try something new but in a way that’s familiar,” said Scott when asked about the success of the program at his school.

At Carroll Bell, CHEF is being taught to all second grade students (about 100 in total), with the help of three fifth grade Mayor’s Fitness Council Student Ambassadors. When deciding how to implement programming at his school, Scott knew he had to choose a grade that would be easily influenced and “open minded”. Another factor that came into play when choosing second graders was that their PE class was right before lunch giving Scott the hope that “students would go into their lunch hour being well informed and making better choices”.

We sat down with the three Mayor’s Fitness Council Student Ambassador’s, Tabitha, Rebecca, and Servando, to ask them about their experience with CHEF:

“I can try different recipes,” Tabitha shared excitedly. She and her twin sister Rebecca have also started, “exploring around in the kitchen and with recipes,” at their own home.

One of the biggest takeaways for Servando was learning how to “use a knife the safe way” using the “claw method” which was taught to him in his CHEF Student Ambassador training.

All three students shared that they enjoy teaching the younger children at their school how to make better choices to “help those that don’t eat healthy foods and love junk food.”

The second grade students look up to these fifth graders and Coach Albach and are more willing to try new foods when they see it being prepared by friendly faces. “There are so many examples of kids who are having realizations about things they’ve never tried before,” said Coach Albach.  He reported that CHEF has helped his students understand where their food comes from and the effect it can have on their health.

“This is the best thing I’ve ever been a part of and the kids are excited about it. There’s no doubt about that. When they come into the gym on CHEF day, they can’t hold it in,” shared Coach Albach.

Carroll Bell plans to continue teaching CHEF in the upcoming semesters and hopes to eventually have a school garden that they can incorporate into classes. If you are interested in bringing CHEF to your school, please apply here: http://chefsa.org/platform